2021年12月1日檔案過大提交問題 <<
Previous cad2021 final
1.wink的使用說明
再將wink的影片檔案放上來需要先記的用sharx的ffmpeg.exe轉檔程式,再來要記的放上以下指令
<script>
var winkVideoData = {
  dataVersion: 1,
  frameRate: 20,
  buttonFrameLength: 10,
  buttonFrameOffset: 5,
  frameStops: {
  },
};
</script>
此為wink的jave script必須放進網頁的代碼裡才可以
以下為wink嵌入的教學
2.fossil的開啟方法
首先fossil網站打開以前要先把我這邊的fossil檔案打開
1.fossil server fossil檔案的位置 打開之後
2.然後將IPV6設定成[2001:288:6004:17:2021::af5],預設閘道設定為2001:288:6004:17::254 DNS伺服器為 2001:b000:168::1
3.打開網址cad2021ag5.cycu.org:8080 ==>8080有可能會改動
4.輸入帳密即可在小組fossil網站上更新了
3.meram的繪圖影片
NFU - MDE - cad2021 - 40923123 - INV2019 零件繪製影片01(無剪輯 https://www.youtube.com/watch?v=s2S8ZmRjy_E
NFU - MDE - cad2021 - 40923123 - INV2019 零件繪製影片02(無剪輯 https://www.youtube.com/watch?v=e5aetrep-cU
NFU - MDE - cad2021 - 40923123 - INV2019 零件繪製影片03(無剪輯 https://www.youtube.com/watch?v=z8q1mtIgfEk
NFU - MDE - cad2021 - 40923123 - INV2019 零件繪製影片04(無剪輯 https://www.youtube.com/watch?v=E9wiw9-JBmU
NFU - MDE - cad2021 - 40923123 - INV2019 零件轉入 CoppeliaSim 教學影片 https://www.youtube.com/watch?v=YJVbbsGa_R8
NFU - MDE - cad2021 - 40923123 - NX12 零件轉入 CoppeliaSim 教學影片 https://www.youtube.com/watch?v=yPAomZGLzWY
4.四連趕機構運動模擬
此為四連趕運動wink:
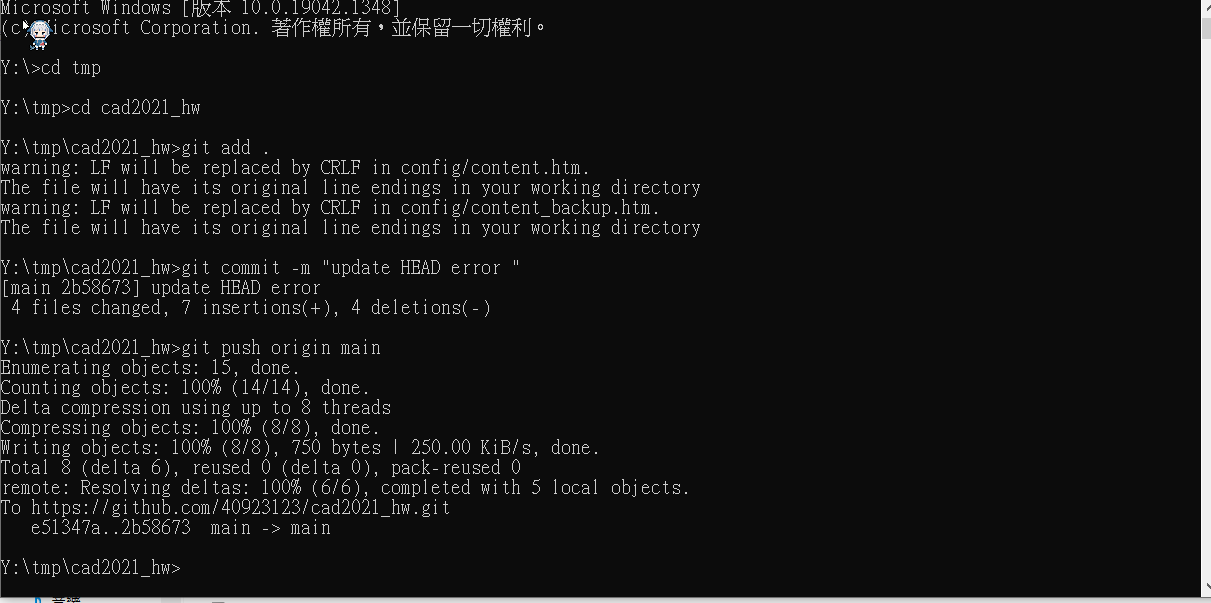
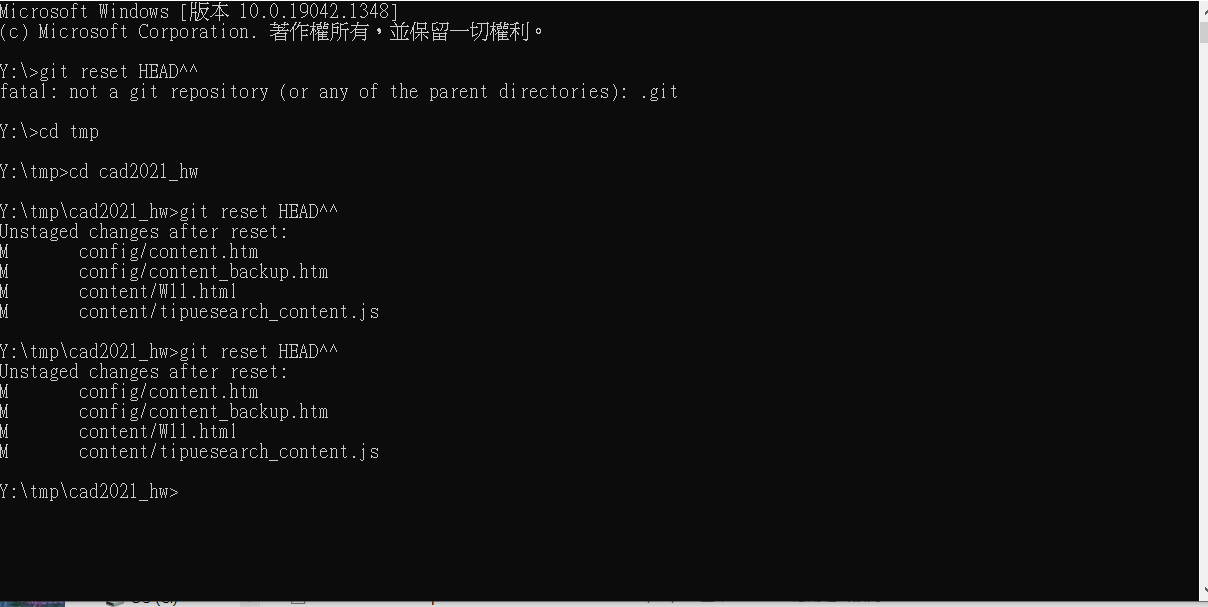
5.檔案過大而導致推送異常問題處理
首先問題的起因是我想將我繪圖的WINK影片放在倉儲下但因為檔案過大導致推送有問題,雖然推送沒有成功但是因為我的提交已經提交出去了,導致我的近端和遠端出現了類似我雖然有提交沒推送進而導致類似版本衝突。以下是我的解決方法
- 先用git log 找出自己的commit紀錄
- 確認自己的HEAD是不是在錯誤的提交
- 將HEAD移回正確的提交用 git reset HEAD^^(代表往後移兩個commit
- 接下來把移回去提交的檔案取出
- 最後正常進行 add commit push 即可了
6.八連桿模擬2022.1.3
7.如何把UI系統叫出來
此為程式的樣本需進行修改
function closeEventHandler(h)
    sim.addLog(sim.verbosity_scriptinfos,'Window '..h..' is closing...')
    simUI.hide(h)
end

function joint1_rotate(ui,id,newVal)
    simUI.setLabelText(ui,3000,'theta1 set to '..newVal)
    sim.setJointTargetPosition(joint1, newVal*deg)
end

function sysCall_init()
    -- do some initialization here
    joint1 = sim.getObjectHandle('motor1')


    deg = math.pi/180
    print(i)
        xml = [[
    <ui closeable="true" on-close="closeEventHandler" resizable="true">
        <label text="This is a demo of the CustomUI plugin. Browse through the tabs below to explore all the widgets that can be created with the plugin." wordwrap="true" />
        <tabs>
            <tab title="Numeric">a
                <label text="Sliders can be oriented horizontally or vertically, and have optional properties that can be set (in the XML) such as minimum and maximum value." wordwrap="true" />
                <label text="" id="3000" wordwrap="true" />
                <label text="theta1" /> <hslider tick-position="above" tick-interval="1"
                minimum="0" maximum="360" on-change="joint1_rotate" />
            </tab>
        </tabs>
    </ui>
    ]]
    ui=simUI.create(xml)

end
下面為影片
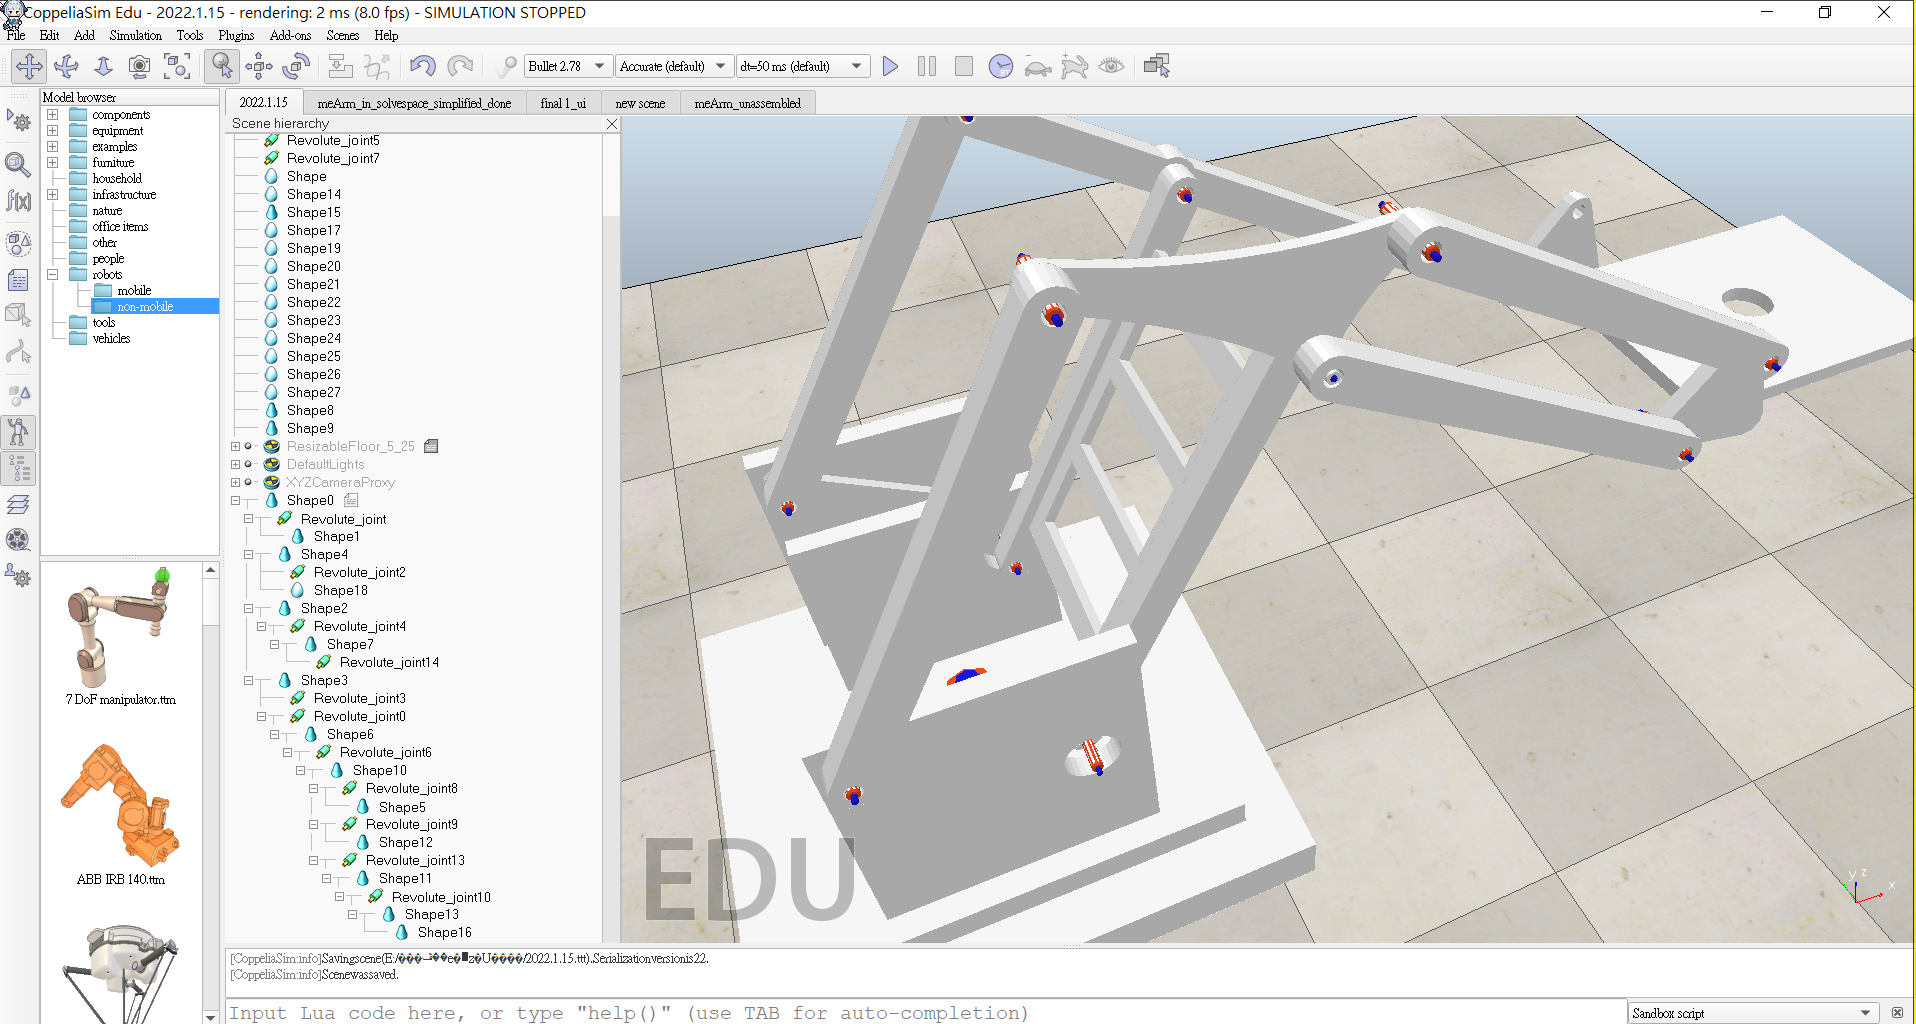
8.meram組立過程
1.首先所有零件皆為自己繪製包含組裝均使用inventor進行組裝以下是影片
第一部繪製組立影片
第二部繪製組立影片
第三部繪製組立影片
第四部繪製組立影片
第五部繪製組立影片
2.關於coppeliasim的組立目前只到約一半左右,以下附上照片現在狀況
2021年12月1日檔案過大提交問題 <<
Previous